Print a capture mat
A calibrated length in shot is the single highest-value thing you can add to a capture.
It satisfies scale-reference — the one dimension no amount of processing can
recover afterwards — and it gives ground sample distance directly, needing no focal
length, no sensor size and no distance measurement.
Then measure the printed bar with a ruler and enter what you measured in the app. Printers scale silently: a real card printed from a 150 mm design came out at 137.5 mm, which would have made every measurement from that session 8% wrong — and nothing downstream could have detected it.
Choose a size
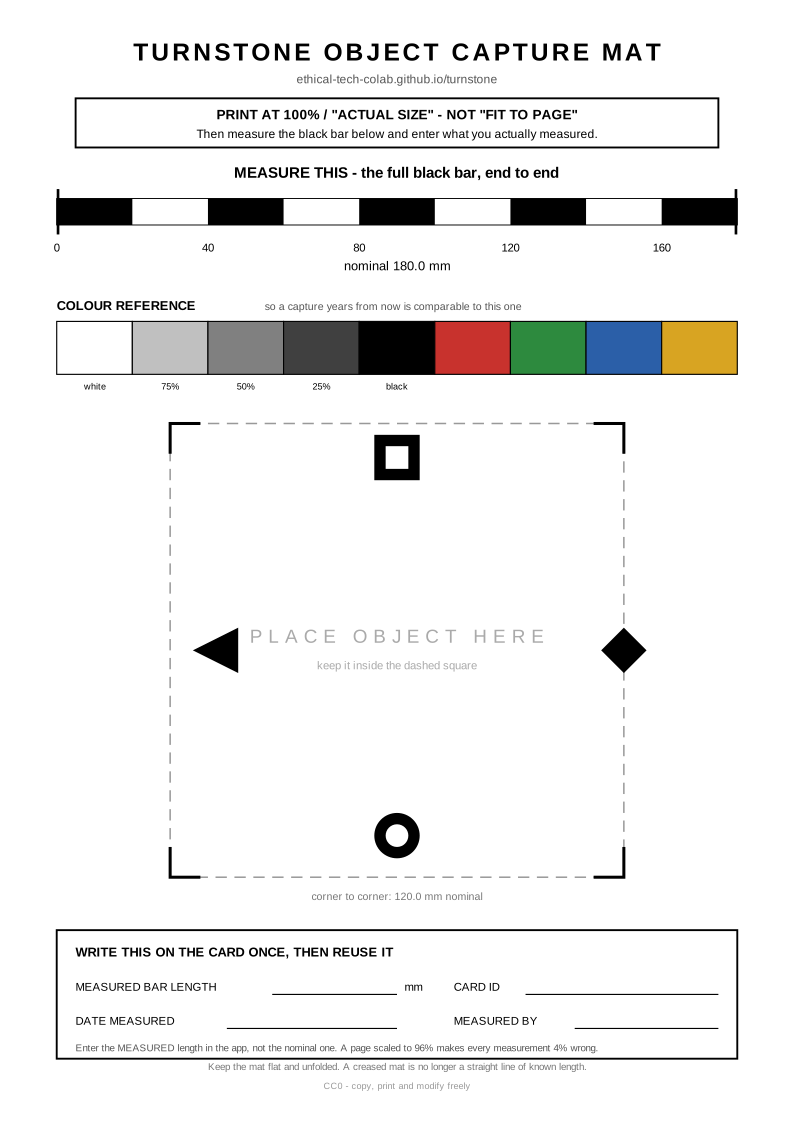
Download A4 · 210 × 297 mm · bar 180 mm
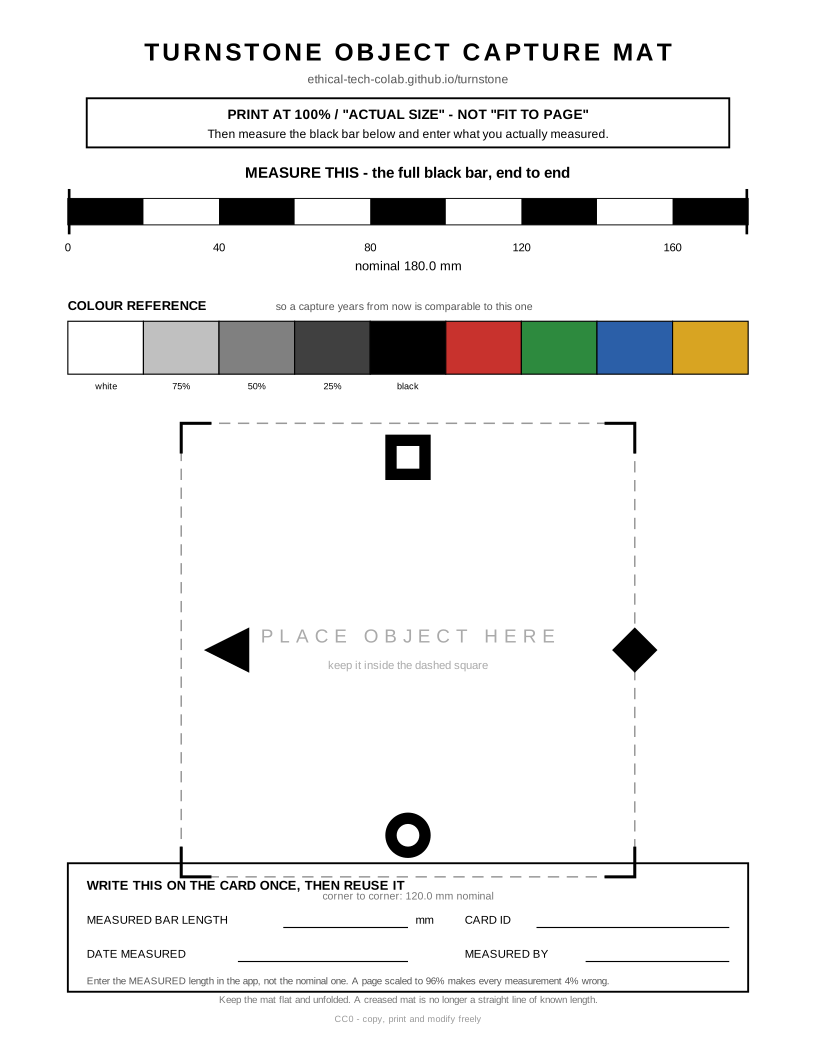
Download US Letter · 8.5 × 11 in · bar 180 mm
How to use it
- Print at 100%, on matte paper if you have it. Gloss reflects the light back at the camera and blows out the very patches you printed it for.
- Measure the black bar, end to end, with the best ruler you have. Write the number in the box on the mat — you only do this once per printed card.
- Lay it flat and put the object in the dashed square. A creased mat is no longer a straight line of known length.
- Enter the measured length in the app under What is in shot. Not the nominal one.
- Keep the mat in frame as you orbit. The markers differ on each side so some stay visible whatever angle you are at.
Already have a Plumb card?
Use it. Its calibrated width is a perfectly good scale reference here — select
Plumb calibration card and enter your measured width. It carries no colour
patches, so the colour dimension stays unmet and the class caps below
reference; everything else works.
No card at all?
A steel rule or any ruler works, and is what most conservation labs already have. Lay it in the same plane as the widest part of the object, and enter the span you will point at. What matters is that a known length is in the photograph, not that it came from us.
Capture · Quality demo · Source · mats are CC0